
If you’ve ever wanted to bake something small, rustic, and absolutely satisfying, learning how to bake a breadling is a great place to start. A breadling is essentially a miniature loaf — think of it as a personal-sized bread with all the charm of a full loaf but without the commitment. Whether you’re a beginner baker or someone who just wants a quick homemade bread fix, breadlings are forgiving, fun, and delicious.
What Is a Breadling, Exactly?
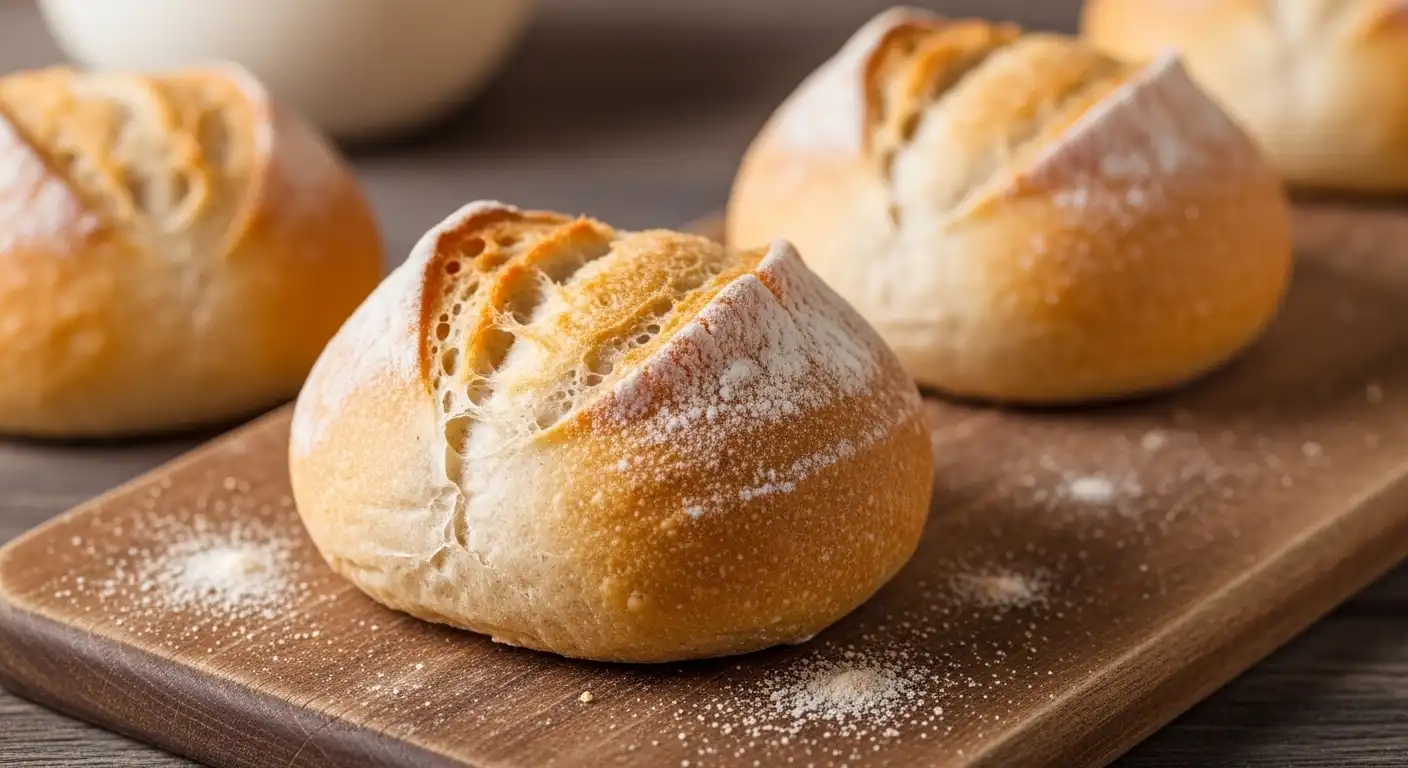
Before we get into the flour and yeast, let’s talk about what a breadling actually is. The term refers to a small, individual-sized bread roll or mini loaf — somewhere between a dinner roll and a standard loaf. It usually weighs around 100–150 grams before baking and is shaped to have a slightly crusty exterior with a soft, airy crumb inside.
They’re popular in artisan bakeries, and for good reason. They bake faster, portion naturally, and look beautiful on a dinner table. Plus, you can flavor them endlessly.
Ingredients You’ll Need
You don’t need anything fancy to get started. Here’s a simple ingredient list for about 6 breadlings:
- 2½ cups (310g) all-purpose flour or bread flour
- 1 teaspoon instant yeast
- 1 teaspoon salt
- 1 tablespoon olive oil or melted butter
- ¾ cup (180ml) warm water (around 38°C / 100°F)
- 1 teaspoon sugar (helps activate the yeast)
Optional add-ins: rosemary, garlic powder, shredded cheese, seeds, or dried herbs.
How to Bake a Breadling: Step-by-Step
Step 1: Activate the Yeast
Start by mixing warm water, sugar, and yeast in a bowl. Give it a gentle stir and let it sit for about 5–10 minutes. You’re looking for a frothy, slightly bubbly surface — that means the yeast is alive and active. If nothing happens after 10 minutes, your water was too hot or the yeast is expired. Start fresh.
Step 2: Mix and Knead the Dough
Add flour, salt, and olive oil to the yeast mixture. Stir until a shaggy dough forms, then turn it out onto a lightly floured surface. Knead for 8–10 minutes until the dough feels smooth, elastic, and slightly tacky — not sticky.
A simple test: poke the dough gently. If it springs back slowly, you’ve kneaded it enough.
Step 3: First Rise (Bulk Fermentation)
Place the dough in a lightly oiled bowl and cover it with a damp cloth or plastic wrap. Let it rise in a warm spot for 1 to 1.5 hours, or until it doubles in size. A turned-off oven with just the light on works great for this.
Step 4: Divide and Shape
Once the dough has risen, punch it down gently to release the gas. Then divide it into 6 equal pieces — a kitchen scale makes this easier. Shape each piece into a smooth ball by pulling the surface tension tight underneath.
You can also shape them as mini torpedoes or oval rolls, which gives a nice rustic look.
Step 5: Second Rise (Proofing)
Place your shaped breadlings on a parchment-lined baking tray, leaving a couple of inches between each. Cover loosely and let them proof for another 30–45 minutes. They should puff up noticeably.
Step 6: Score and Bake
Preheat your oven to 220°C (425°F). Just before baking, use a sharp knife or bread lame to score the top of each breadling — a single slash or an X works perfectly. This controls how the bread expands and gives that classic artisan look.
Bake for 18–22 minutes until deep golden brown. For a crispier crust, place a small oven-safe dish of water on the bottom rack during baking. The steam makes a real difference.
Step 7: Cool Before Eating
As tempting as it is to tear into one immediately — wait at least 10–15 minutes. The inside is still setting during this time, and cutting too early gives you a gummy crumb.
Pyjamas Paper: The Cozy Stationery Trend You’ll Love
Pros and Cons of Baking Breadlings
Pros:
- Bake faster than full loaves (under 25 minutes)
- Perfect single-serve portions — no slicing needed
- Great for experimenting with flavors
- Freeze well individually
- Impressive presentation with minimal effort
Cons:
- Dry out faster than full loaves if not stored properly
- Require more shaping effort per batch
- Smaller margin for error — overbaking happens quickly
- Not ideal if you need bread for large sandwiches
Common Mistakes to Avoid
Even simple recipes have their pitfalls. Here are the ones that trip up most beginners:
Using water that’s too hot. Anything above 43°C (110°F) can kill your yeast. Warm, not hot — think bath water temperature.
Skipping the second rise. Some people rush through the proofing stage, but this is where flavor develops and texture improves. Don’t skip it.
Not scoring the dough. Unscored breadlings can burst unevenly in the oven. Even a shallow cut helps.
Opening the oven too early. Resist the urge. Opening the oven door in the first 10 minutes causes temperature drops that affect the rise.
Under-kneading. A dough that hasn’t been kneaded enough lacks gluten structure, giving you dense, heavy breadlings instead of light, airy ones.
Best Practices for Perfect Breadlings Every Time
Follow these habits and your results will be consistently great:
- Weigh your ingredients instead of using volume measurements — baking is chemistry.
- Use bread flour if available — its higher protein content creates better structure and chew.
- Don’t skip the steam. A pan of hot water in the oven during baking gives you that bakery-quality crust.
- Rotate the tray halfway through baking for even browning.
- Cool on a wire rack, never on a flat surface — trapped steam underneath softens the crust.
- Store in a paper bag rather than plastic to maintain crust texture. For longer storage, freeze and reheat in the oven for 5 minutes.
Flavor Variations Worth Trying
Once you’ve got the base recipe down, breadlings are a blank canvas. Some popular variations:
- Garlic and herb — mix in roasted garlic and dried thyme
- Cheese pull-apart — stuff with mozzarella before shaping
- Seeded crust — roll shaped dough in sesame or poppy seeds before proofing
- Olive and rosemary — fold in sliced olives and fresh rosemary during kneading
- Cinnamon raisin — swap olive oil for butter and add cinnamon sugar for a sweeter version
Conclusion
Baking breadlings at home is one of those genuinely rewarding kitchen experiences — quick enough to fit into a busy day, but satisfying enough to make you feel like a proper baker. The process teaches you fundamentals like yeast activation, dough feel, and oven management, all in a low-stakes, small-batch format.
Start with the basic recipe. Get comfortable with the dough. Then experiment. Add cheese. Try different flours. Play with shapes. That’s how most great home bakers develop their instincts — one small loaf at a time.
Frequently Asked Questions
1. What is a breadling made of?
A breadling is made from standard bread ingredients — flour, yeast, salt, water, and a fat like butter or olive oil. It’s a miniature version of a regular loaf and can be flavored with herbs, cheese, or spices.
2. How long does it take to bake a breadling?
From start to finish, including rising time, expect around 2.5 to 3 hours. The actual oven baking time is just 18–22 minutes at high heat.
3. Can I make breadlings without yeast?
Yes. You can use baking powder as a leavening agent for a quick bread version, though the texture will be denser and more scone-like rather than airy and chewy.
4. How should I store leftover breadlings?
Store at room temperature in a paper bag for up to 2 days. For longer storage, freeze individually and reheat in the oven at 180°C for 5–8 minutes to refresh the crust.
5. Can I use whole wheat flour for breadlings?
Absolutely. Replace up to 50% of the all-purpose flour with whole wheat flour for a nuttier flavor and denser texture. Going 100% whole wheat will require slightly more water and a longer knead.
